 Ask an Engineer
Design it yourself: 4 steps to actuator selection
By Andrew Zaske on December 7, 2021
Size and select your actuator with easy online tools.
Step 1: Confirm the application requirements.

Gather the critical details for selecting an actuator. These include:
- Load and/or Force
- Speed
- Stroke length
- Moment Loads (Distribution of the load)
- Environment
- Acceleration and/or Deceleration (Electric Only)
Once you have the basics, there are a few additional details you’ll need to know to help you choose the correct actuator:
- Actuator position: Will it be mounted horizontally or vertically or on an angle?
- Carrier position (for rodless only): Top, bottom or side?
- Available space: How much space does the actuator have to work in, including extend length?
- Environment: Are there contaminants (corrosive, abrasive)? What temperatures will the actuator operate in? Is it a washdown environment?
- System precision: What are the requirements for accuracy, repeatability and resolution?
Answers to these questions will help you decide which style of actuator and the correct product family features. Remember that a rodstyle actuator uses a thrust rod to create motion, usually pushing/lifting/pressing the load. A rodless actuator has a carrier that travels along one side and typically carries the load but can also push some loads or be used to position items.
Step 2. Use the Available Tools
You’ve gathered a lot of information in Step 1. The easiest way to keep it in one place is to enter it on an application data sheet. You can download a PDF or submit it online (/support/application-worksheets).
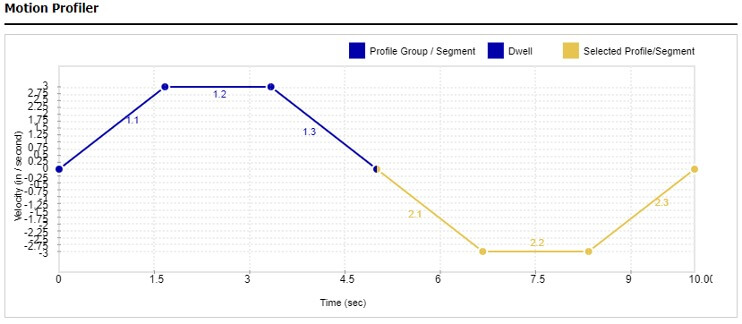
Sizing software—Once you know the application parameters, move on to using the online sizing software. This is the biggest step of the process. Fill in the application details that you know from the application worksheet. These details include actuator type (rodstyle or rodless), motor mount, actuator orientation. You’ll also create a motion profile (consisting of extend direction, velocity and motion direction). Once the profile is in, you can move on to add loads and forces for the particular move. From this data, you’ll receive several options for selecting a product that matches your parameters. You can review the product families on the website, or you may want to Ask an Engineerfor clarification.
Step 2 also includes motor selection. You can select a Tolomatic motor, or you can select the motor of your choice with Tolomatic’s Your Motor Here program.
Finally, as you complete the Sizing exercise, it allows you to choose product options. From there, you will receive a finished sizing report, or project summary, which you can email to yourself as a pdf.
Also available with the sizing report is Tolomatic’s model builder, a 3D CAD library allowing you to download 2D or 3D files for virtually every product.
Step 3. Achieve the Control Requirements

Now that you have selected the actuator, you’ll decide on the controls for it. This step can include selecting the appropriate motor drive and communication protocols. Some of this you can do in the Motion Interface section of the sizing tool when you use a Tolomatic motor solution. With Your Motor Here (YMH) options you will do this with the motor or controls of your choice. You’ll define requirements, pick a technology (servo or stepper motor) and determine the operating mode and communication protocol (e.g., EtherNet IP, EtherCAT, ModBus, ProfiNet, I/O Link).
Step 4. Get a quote
Now that you have an actuator configuration (actuator plus motor and drive package), contact Tolomatic for a quote. You can locate a Tolomatic distributor through our website. Or, call Tolomatic at 763-296-7745. And you can always Ask an Engineer.